How to create a static website using Azure Storage Accounts
With Storage containers and Azure CDN


In this short blog, let us have a look at how easily we can create a simple static HTML website and host it on Azure.
Prerequisites:
Azure Subscription - Very easy to create. All you need is a valid email address and a credit card to start. Go to Azure Portal and create a subscription.
An HTML web page
Creating Azure Storage Account and Static website
Let us start by creating the storage account where we will be hosting the static website.
In the Azure portal, select Create a Resource and select Storage Accounts


As a best practice during the labs, create a new resource group which will be a logical container for the resources.


In the instance details, give an unique name for the storage account.
Chose the redundancy option to LRS with a standard performance tier to keep things minimal.

From the networking tab, choose "Enable public access from all networks" to have external access to this storage account that hosts the static website.
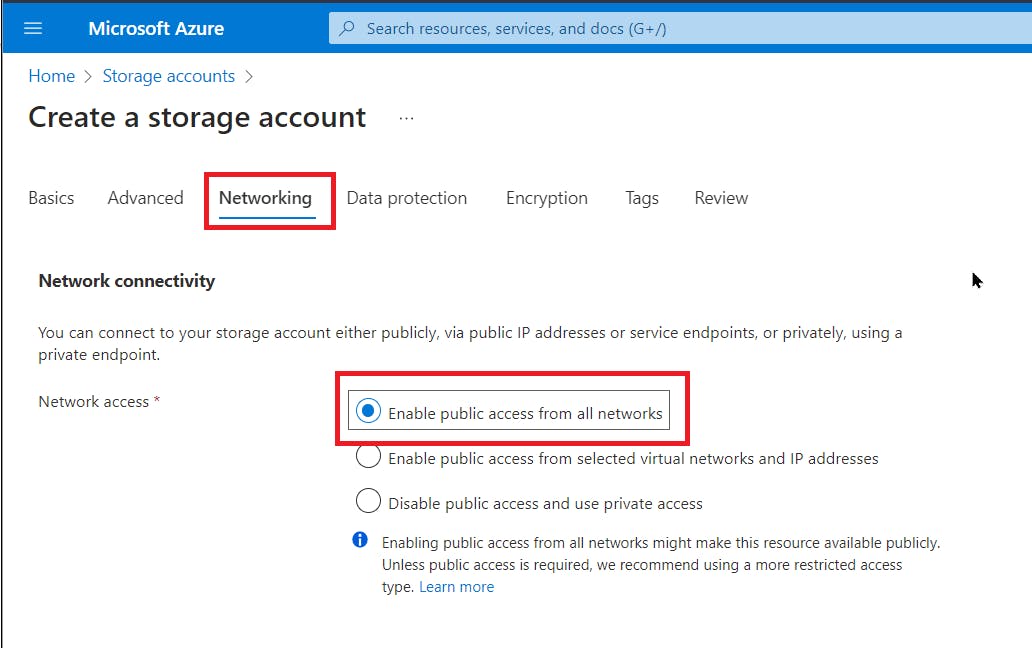
Public access from all networks is enabled by default and if you choose other options without required configurations, you will receive a similar error as below accessing the website.

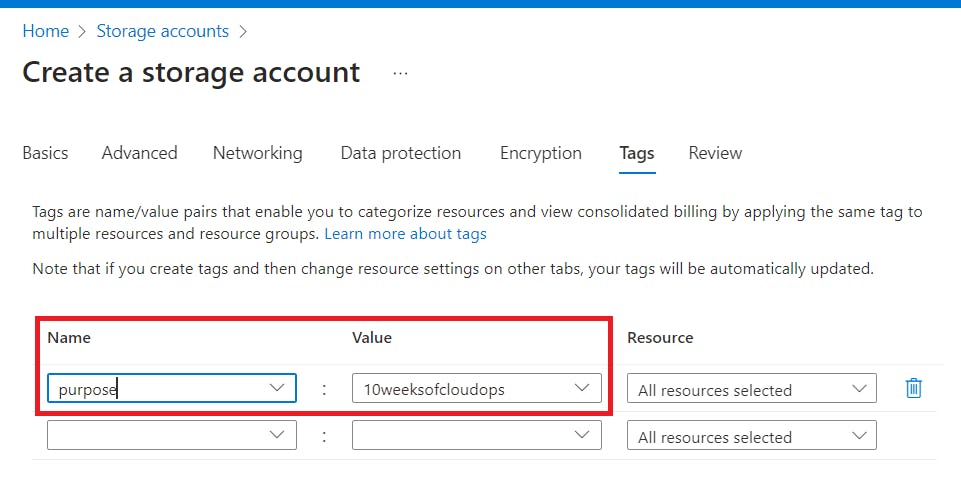
Choose your tag name and value, this is optional but tagging helps with billing, reports etc...
After this, you can create the storage account and you should receive "Your deployment is complete" message on your screen.

Go to resource and select the newly deployed storage account and choose Containers under Data Storage. You will see $logs but not $web where we will be uploading our static webpage and its contents.
To have the $web directory, we have to enable the Static website option under Data Management on the Storage Account level.
Once enabled, you can enter the index and error document names which is created and need to be shown to the users.
Copy the primary endpoint URL from the Static website section to the clipboard, this URL is what you will be using to see the website before configuring CDN.

.
Once the Static website option is enabled, you will now see the $web container. Open $web container and upload the web files.
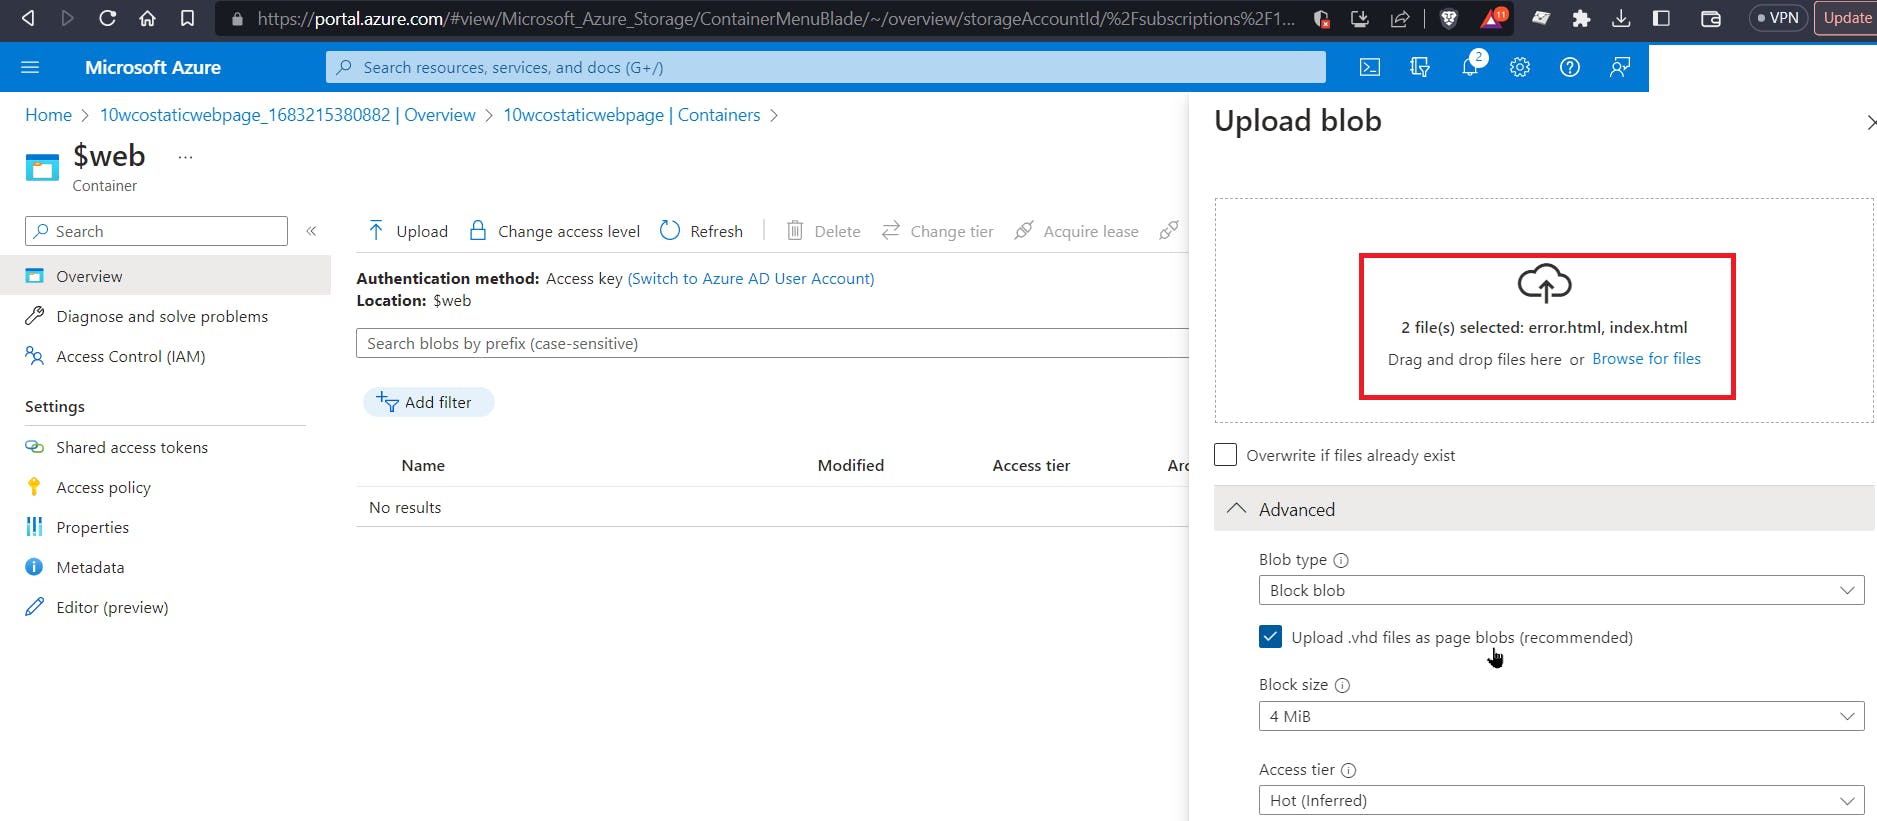

Navigate to the primary endpoint, you will see the index.html page displayed and the error page with 404 message if you type in the wrong URL after the primary endpoint.


Creating Azure Content Delivery Network Profile and Endpoints
Azure CDN will cache the contents close to the user, thereby increasing the speed at which the user gets the website loaded. There are other features of CDN but this is among the primary.
To create the CDN configuration, we need to create a new CDN profile, choosing the pricing tier, CDN endpoint name and origin hostname (the primary endpoint for the Static website)


The Endpoint hostname is the new CDN-enabled URL which you can use to view the Static website.


This concludes this blog post for now.
In part2 we will see how we can integrate this with Github Actions, so whenever any changes happen to the git repository, the website gets automatically updated.